(jump back to page with details on making raw struts) (jump to page with model made with skewers and ring lugs)
A small time elapses after fabricating all those struts (about a year!). After moving all those darn pieces of pipe with smashed ends and middles around, I decided to actually assemble the sphere.
The geodesic dome literature is replete with how you have to precision fabricate everything to a gnat's eyelash to make it work. Nonsense. This stuff is moderately flexible steel tubing. If the hole is off by a fraction of an inch, you can make it fit with a hammer, big pair of pliers, and the mechanical advantage of a screw being tightened.
I was thinking about making a jig to precisely hold the ends of the EMT on the drill press, but, instead, wound up drilling them all by eye. I planned to assemble everything with 5/16" hardware (1/4" looked too small, and 3/8" would take a pretty big hole in the smashed conduit), so I drilled the holes with the next size drill bit up: 21/64" (because I happened to have it).
Some warnings for folks who haven't done "mass production" type fabrication on steel:
It took less than an hour to drill all the holes, from gathering the smashed end pieces of EMT to having nicely drilled pieces laying on the lawn ready for assembly. I didn't bother to debur the holes, figuring there'd be some bashing and filing to come later anyway.
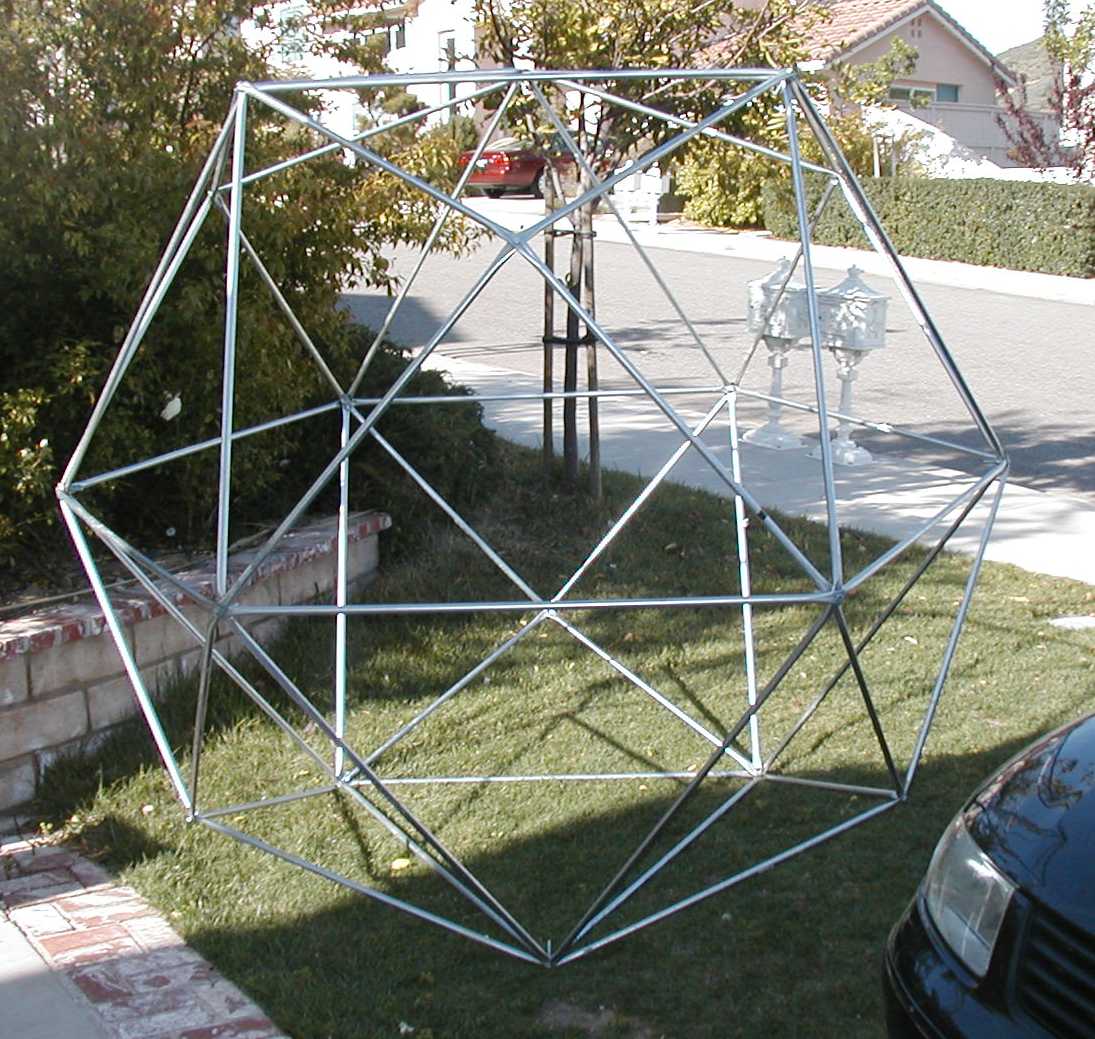
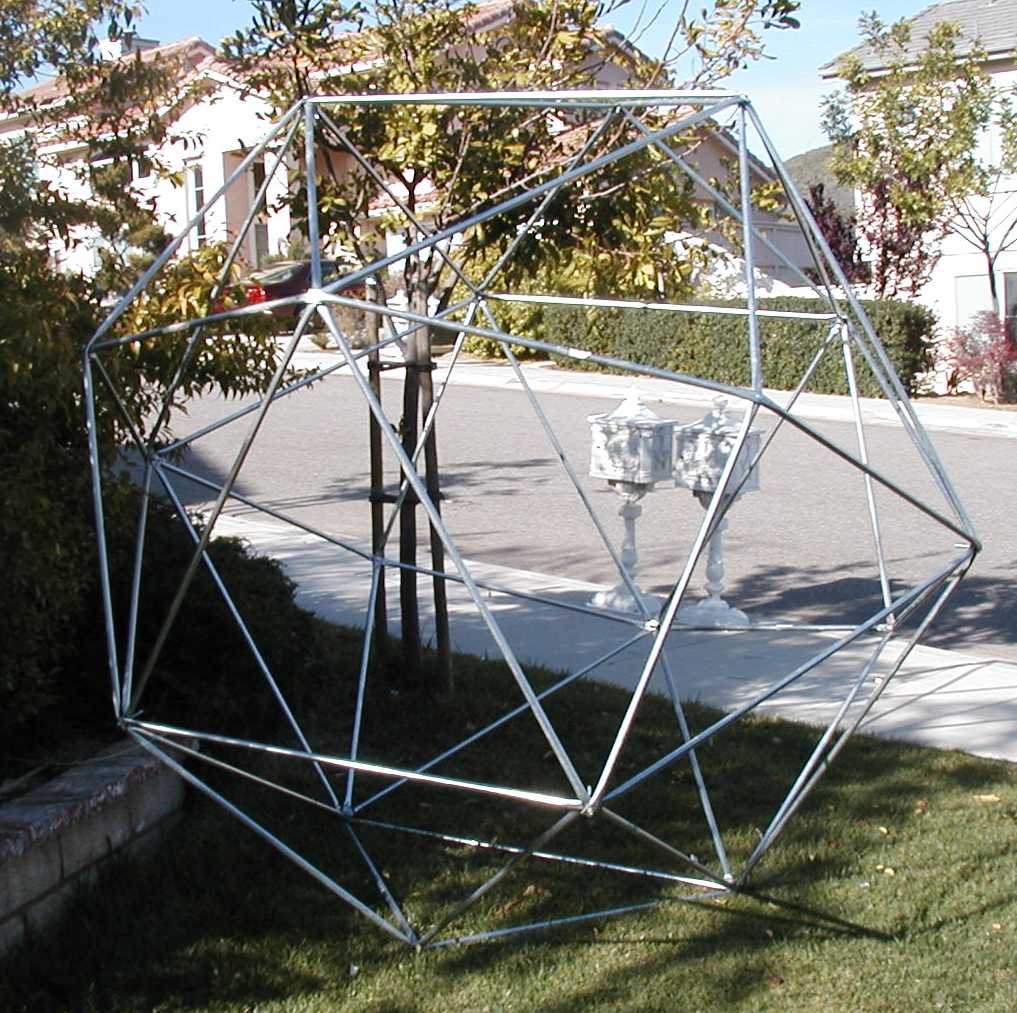
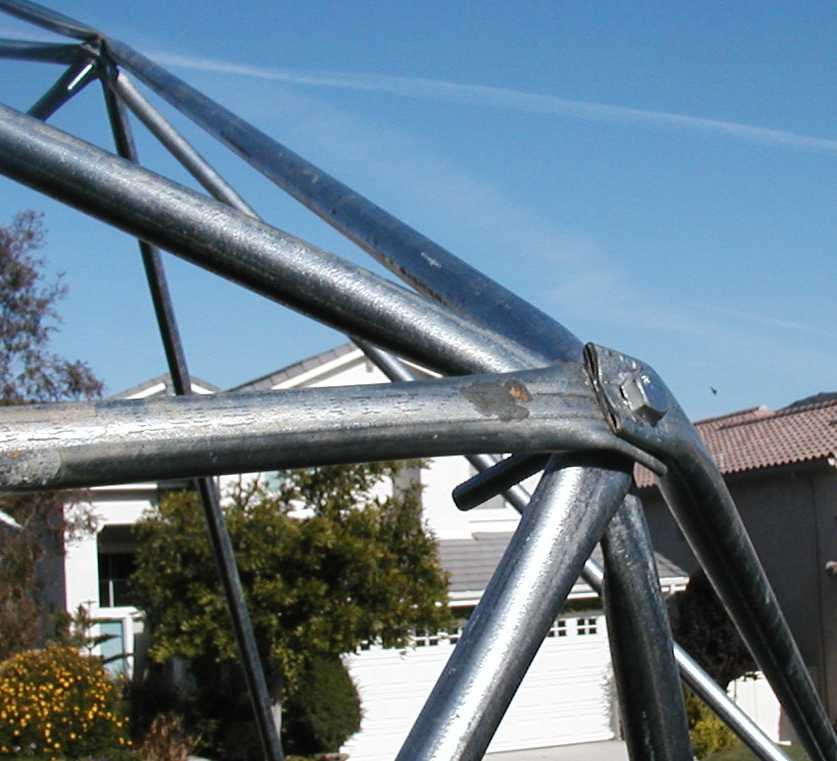
You MUST have a model to look at. Otherwise, you'll inevitably have problems gettting the right sized pieces in the right places. In my case, it helps to know that there are big triangles with squares between them, and the short struts form an "X" brace across the square.
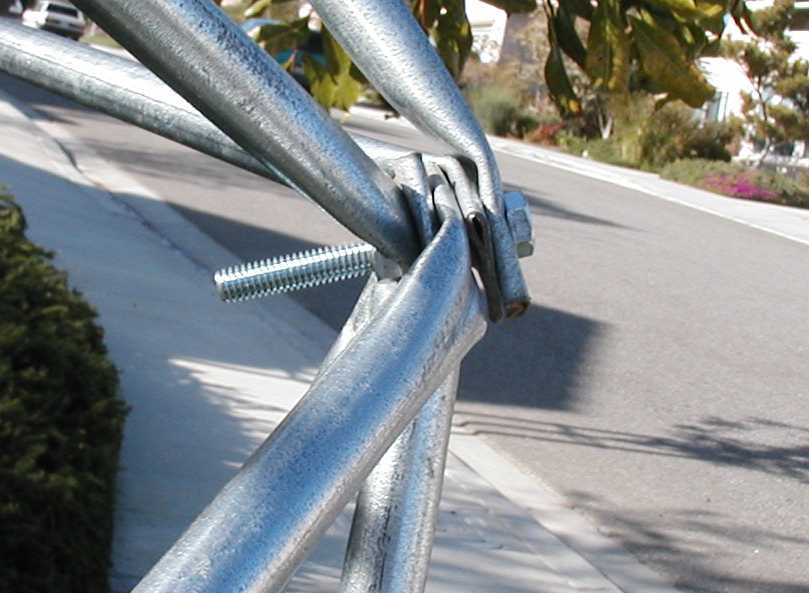
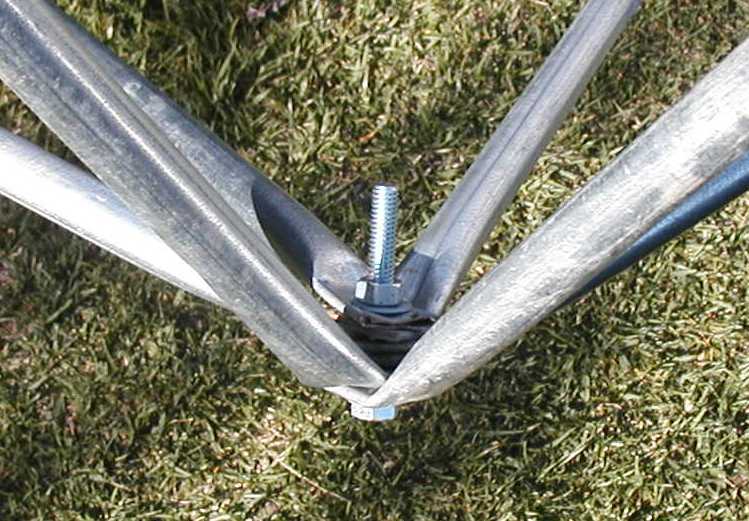
You'll need a variety of lengths of bolts to assemble it. When all is said and done, the bolts can be shorter, but it's really nice to have a nice long bolt to string everything on when doing the early assemblies, and everything doesn't quite fit. I used 1" (too short for most), 1 1/2" (worked for a lot) and 2 1/2" (works everywhere). My sphere has 30 vertices, so boxes of 50-100 bolts are just fine. Get lots of extra nuts and washers (so you don't have to worry about dropping them: you will). Buy the washers by the pound. I think the total hardware cost (with lots of bolts left over) was about $30-40 (boxes of bolts are about $8-10)
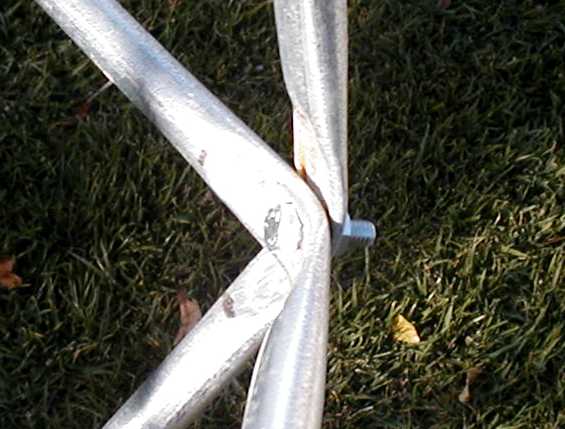
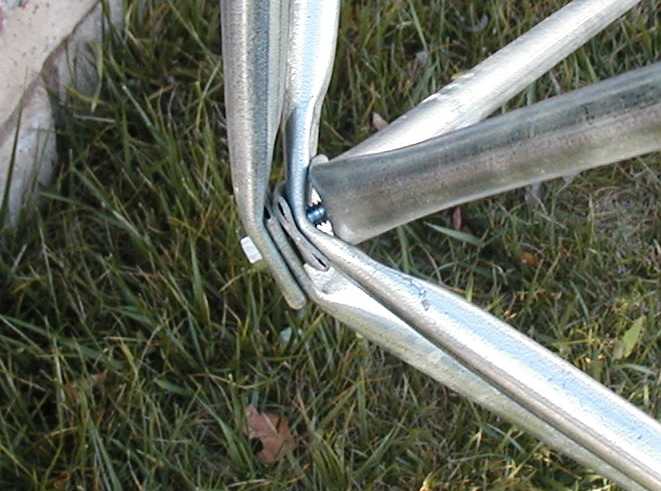
It's easier to assemble with the bolt sticking out, and the nut on the outside, because you can turn the wrench easier on the outside. On the inside, the wrench hits the struts. If you're using a power wrench, this is less of an issue.
In my sphere, I know that there are hexagons (with an included angle of 120 degrees) and octagons (with an included angle of 135 degrees). I drew some lines on a piece of cardboard at those angles so I could lay the strut on it and bend it to about the right angle by hand.
A trick: When you bend the struts, it will tend to kink at the middle where the hole is. This is BAD: it makes it hard to get a nice stack of struts and it's a weak point. I put a big C-Clamp on the middle of the strut and then bent it, which left about a 1" flattish spot in the middle where the hole is. A vise would also work (probably better).
For bending the ends, I used either a vise (to get it close), or a pair of Channel-Lok type pliers to grip the flattened end and bend it. You'll use that pair of pliers a lot when assembling, to get the angle just right (and you can use it to "twist" the strut a bit, since it's unlikely you did a precise job flattening the ends).
I started by bolting 3 long double struts into a hexagon. It might be worthwhile prebending everything into shape, but then, perhaps not. I then took two more long double struts and built the first big triangle. Something to support the structure on or prop it up while half built is essential. After that, I sort of just kept filling in triangles, referring to my little model. Several times, I pulled the whole bolt out at a joint to add some struts, and changed the order of stacking around to make it "fit better".
A portable drill with your drill bit is handy, if you need to ream out a hole a bit to make it slide together. You don't really want to have to screw the bolts through the holes, and as you bend and tweak, the holes get a bit tweaked and close up a bit. I probably had to use the drill on a half dozen or so holes, usually on just one piece at a given vertex.
Total assembly time was about 3 hours, from pieces laying on the grass, to fully assembled sphere.
Click on the picture to bring up a larger version.
robot/emt2.htm 28 March 2004 Jim Lux